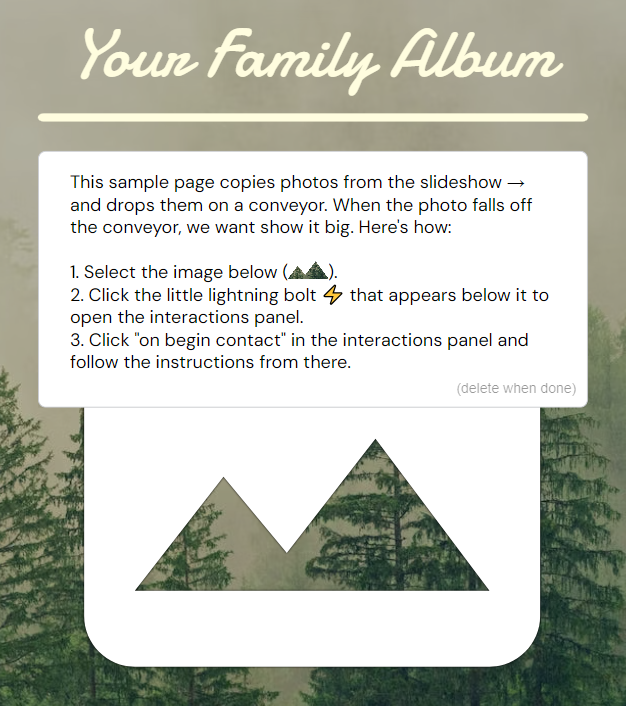
This step-by-step guide will help you get started with programmability in Hatch. We’ll be modifying a photo gallery with custom JavaScript to create a cool gravity effect, as shown below. Use this interactive template and follow along with the project instructions in detail.

Notice the images moving across the top of the page. As the photos drop off of the top line toward the bottom, each new photo replaces the current background. That’s the custom behavior we’ll learn to program in this tutorial.
Click on “remix this” in the template and let’s start working!
Once you’re in the editor, you’ll be greeted with your first set of instructions. Before you do anything else however, click on the “preview” button at the top-right. Is the page behaving like the one shown above? No, it seems like the center image isn’t changing as we might expect.
Setting the center image display
We’ll use Hatch’s Interactions feature to modify how the center image changes over time. First, select the image (just like instructed above). Then we have two ways to bring up the interactions menu. You can either click on the little lightning bolt at the bottom of the image, or scroll over to the right sidebar.
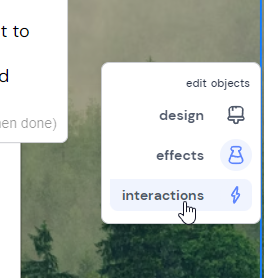
Clicking on the lightning bolt or the interactions tab will open up the code for you to edit. Under “javascript” there’s a text box containing the code for that element. Click on it to expand it.
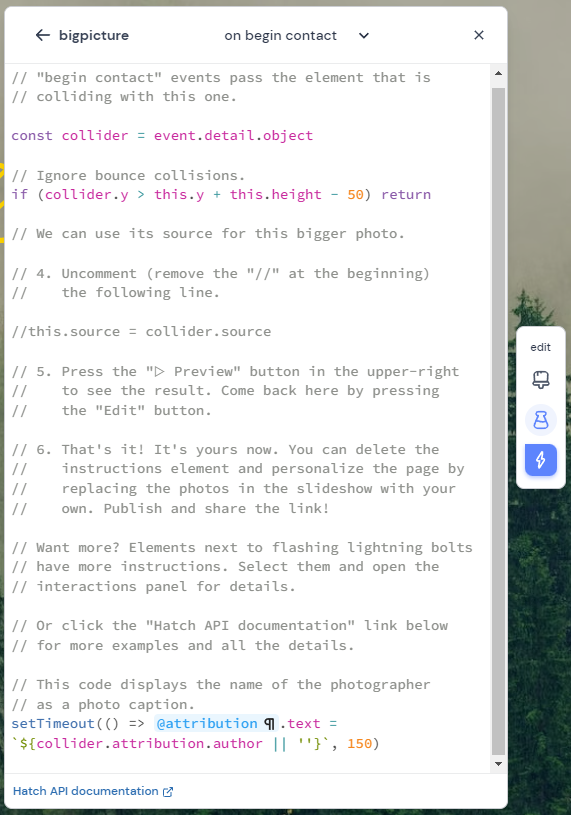
It seems there’s a lot to unpack here, but most of this is explanation. We are customizing the interaction “on begin contact” which you can see at the very top of the box. This is what determines what sets the code in motion. To see an example, let’s focus on the first line of code, shown below.

The moment each photo drops down the page, it comes into contact with the center image, triggering the “on begin contact” code. We also know which object the center image is colliding with. This lets us store the information of the colliding object to use later on.
Now move down to step 4 (continued from the three steps on the first page).

Comments in code are used to write descriptive text that don’t affect the program. By writing “//” at the start of the line, the rest of the text in that line is skipped as far as the program is concerned. So when we remove “//” as instructed, that will make that line of code work again.
That particular line of code is what replaces the image data of our current object (the center display photo) for that of the colliding object (that we previously stored through the first line of code). So if we remove the “//” from the line and press “preview” again…now the center image works as expected. Just remember to delete the text box in the middle image containing the instructions.
Fixing the switch functionality
There’s another small interaction to fix within the page. See if you can spot it! It has a little lightning bolt next to it.
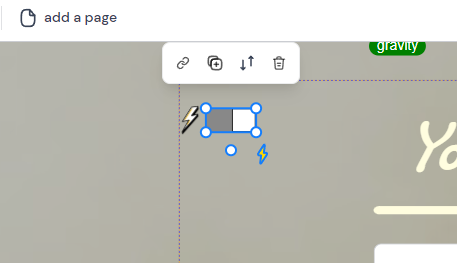
This switch at the top-left is meant to freeze all the elements in the page with a single click. However, if you try to turn it on and off in the preview page, it currently does nothing. Let’s access the Interactions menu for the switch, like we did for the center image.
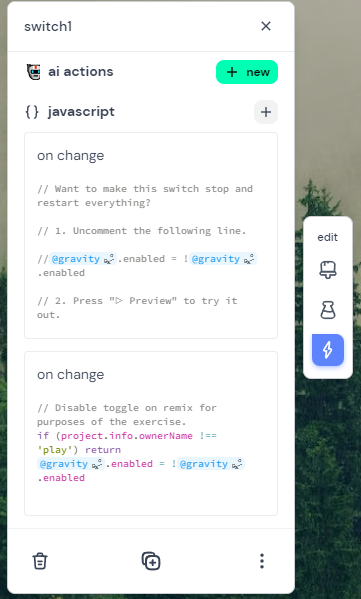
As you can see, there are two boxes under javascript this time! The Hatch editor is able to support multiple behaviors on one object at once, through separate code snippets. You can add more by clicking on the plus sign to the right of “javascript.”
Let’s focus on the “on change” box at the top. Clicking on it will let you edit the code.

Like before, we’re asked to uncomment a line to restore its functionality. This line will switch the page’s gravity on and off. With gravity is disabled, the objects on the page will stop moving. So now click on “preview” again, and the switch is ready for you to play with. You can see it in action below.